

Azure Storage Explorer
Azure Storage Explorer is a free desktop application that can be used to manage Azure Storage resources across Azure subscriptions. The application uses AzCopy to perform resource management and data movement operations, allowing users to leverage the performance benefits of AzCopy with an easy-to-use GUI.
You can get started with Azure Storage Explorer by downloading the most current version from https://azure.microsoft.com/en-us/features/storage-explorer. Here you will find download options for Windows, macOS, and Linux devices. Once it’s installed, users can leverage Azure Storage Explorer to perform the following tasks:
- Connect to and manage Azure storage accounts across multiple Azure subscriptions.
- Create, manage, and delete blob containers, ADLS directories, and file shares.
- Upload, manage, download, and delete data and virtual hard disks.
Use the following steps to log into your Azure account and list the subscriptions and storage accounts you have access to:
- Open Azure Storage Explorer and click the Connect to Azure Storage button. Figure 4.23 illustrates where you can find this button.
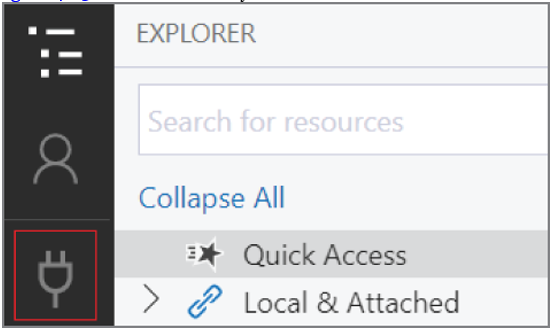
FIGURE 4.23 Connect to Azure Storage button
- The Connect to Azure Storage pop-up window provides connection options at the Azure subscription, storage account, and storage service levels. Click the Subscription button and follow the prompts to sign into your Azure account.
- After you successfully log into your Azure account, the account and its associated subscriptions will appear under the Account Management page. Select the subscription that hosts the storage accounts you want to manage and click Open Explorer.
- The Explorer page will list all of the storage accounts and storage resources in the selected subscription(s). Figure 4.24 illustrates how the previously created blob container and file share is listed in Azure Storage Explorer.
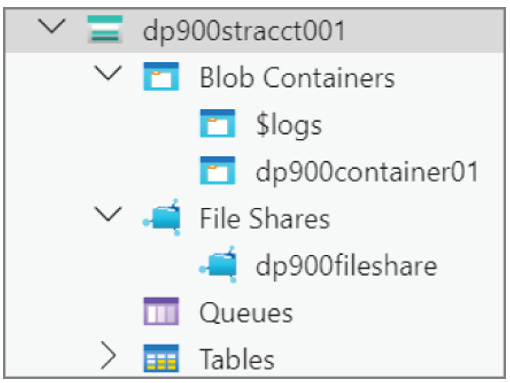
FIGURE 4.24 Storage account display
When you click on a blob container or a file share, the main pane will display all of its contents as well as options to upload new items and create a new subfolder. Click on the previously created blob container and click the Upload button in the top ribbon. Click Upload Files to upload one or more data files. The Upload Files pop-up page allows you to select the files you want to upload, the blob type, and the access tier for the blob. Figure 4.25 shows an example of this page uploading a block blob with the hot access tier.
Once it’s uploaded, you will be able to manipulate the data with several options in the top ribbon and by right-clicking the blob.
Leave a Reply